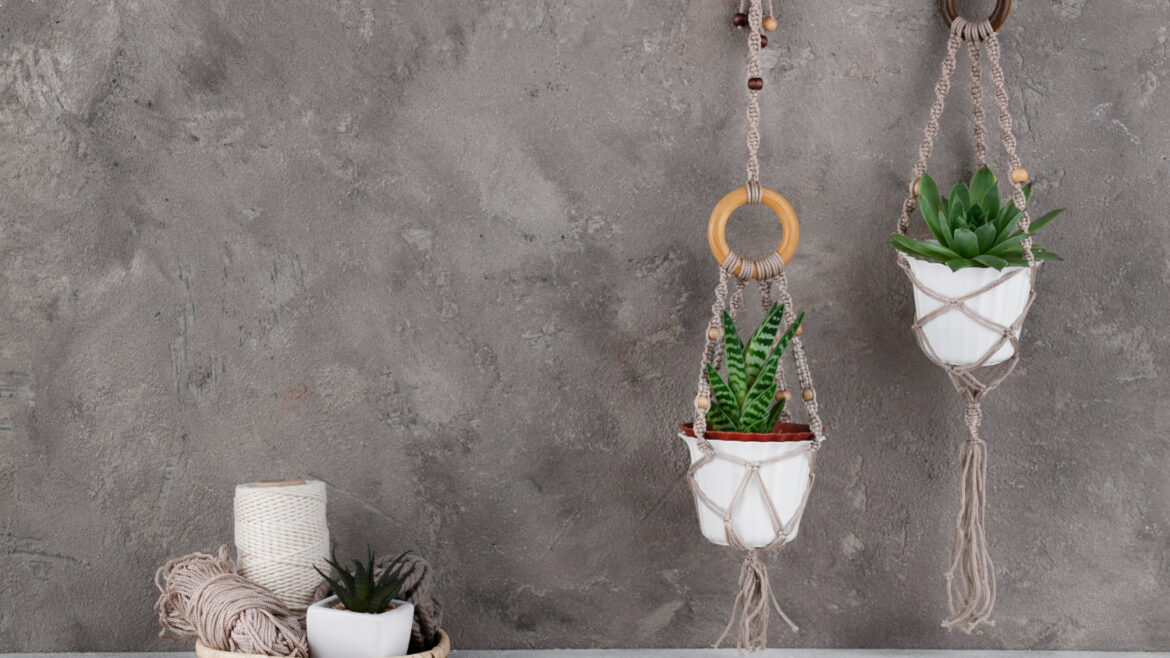
Introduction Adding greenery to your living space can enhance your décor, and making your own macramé plant hanger is a delightful way to showcase your plants. This DIY project not only adds a touch of nature but also brings a personal handmade flair to your home.
Materials Needed
- Macramé cord
- A ring (metal or wooden)
- Scissors
- Measuring tape
- Optional: beads or other decorations
Instructions
- Prepare the Cord:
- Begin by cutting your macramé cord. For a standard plant hanger, cutting four to eight cords at 16 feet each is generally sufficient. This length can be adjusted depending on the desired final length and the size of the pot.
- Attaching the Cords:
- Fold the cords in half and loop them through the ring using a lark’s head knot. To perform this, put the folded end through the ring and then pull the loose ends through the loop.
- Start Knotting:
- Divide the cords into pairs and start tying square knots to form the body of the hanger. You can add beads here if desired by threading them onto the cords before knotting around them.
- Forming Sections:
- Continue with the square knots and create spaces by leaving some distance between the sections of knots. This is where your pot will eventually rest.
- Adding the Pot:
- Place your pot within the hanger to ensure it fits securely. Adjust the knots if necessary to accommodate the size of the pot.
- Finishing Touches:
- Once the pot sits securely, gather all the cords at the bottom and tie a final gathering knot. Trim any excess cord for a neat finish.
Conclusion Creating a macramé plant hanger is not only a fun and creative activity but also a practical one. It allows you to hang plants in windows or corners of your rooms where space might be limited. By following these steps, you can make a unique piece that enhances your home decor and displays your plants beautifully. Experiment with different knots, colors, and accessories to personalize your hanger and match it to your home’s style.